In this guide, we’ll walk you through how to get your medical records into Guava using our medical record parser, making them easier to access, search, and share with your care team, wherever you are.


Learn about how we keep your information secure by following HIPAA, Federal, and US State laws.
1. Connect to your existing patient portals
Many clinics and hospitals use online patient portals to let you access your medical records. If you’re in the US, there are over 60,000 health systems that you can connect to in Guava.
To connect:
- Go to Menu > Data Sources > Health systems
- Tap + Health System or Connect Providers
- Search for your hospital or clinic’s patient portal
- Sign in using your existing portal credentials


Once connected, Guava will automatically sync your clinical data, such as labs, conditions, medications, and visit summaries, into a consolidated, searchable format.
Don’t have access to a portal?
If you’ve received care from a hospital or clinic that uses a patient portal but don’t have access to it, call their office and ask how to activate your patient portal. Most providers will provide you with an activation code or link after your initial visit via email or on your post-visit summary, but you may have to request a new code if it’s expired.
You have the legal right to your medical records in most countries, and most offices will help you get access or send them to you directly.
What if my portal isn’t listed?
If your provider isn’t on Guava’s list, try searching for the larger hospital group or health system that appears on your patient portal. If it still doesn’t show up, it’s possible that it’s not connected to Guava yet.
In the meantime:
- You can upload files manually (see below)
- Request that Guava connects to your system. We regularly add new portals and will let you know when yours is connected.
2. Upload any paper records, CDs, or files
If your provider doesn’t have an online portal, you’re outside of the US, or if you have physical documents, CDs, or medical record files, you can upload them to Guava manually.
Guava’s built-in record parser will extract health data so you can search, organize, and even flag incorrect information.
To upload records, go to Menu > Data Sources > File Uploads


If you have a patient portal but it doesn’t connect to Guava, you can try downloading your records as a CCDA or XML file. If this option is available, download the file onto your device and upload it into Guava manually by going to Menu > Data Sources > File Uploads.
If your provider sends you a CD with X-rays, MRIs, or CT scans, you can upload them to Guava on a computer with a CD reader. Find the “DICOM” folder on your CD and drag and drop it into Guava in the box under Upload Files.
If you have paper records, you can take a photo or scan them and upload them as an image or PDF document. Guava’s record parser will extract the information and allow you to view, add notes, or mark things as incorrect.
3. Manually enter missing information
If you don’t have official documentation for something but want it reflected in your medical history, you can still add it in Guava. Just go to the Records tab to include:
- Custom lab entries
- Meds & supplements
- Conditions & injuries
- Allergies & intolerances
- Vaccinations
- Events
- Genetics
- Care providers
- Lifestyle habits
4. You’re all set
Once your records are in Guava, you and your provider can view them in one centralized, searchable place under Records.


See lab data and track biomarkers
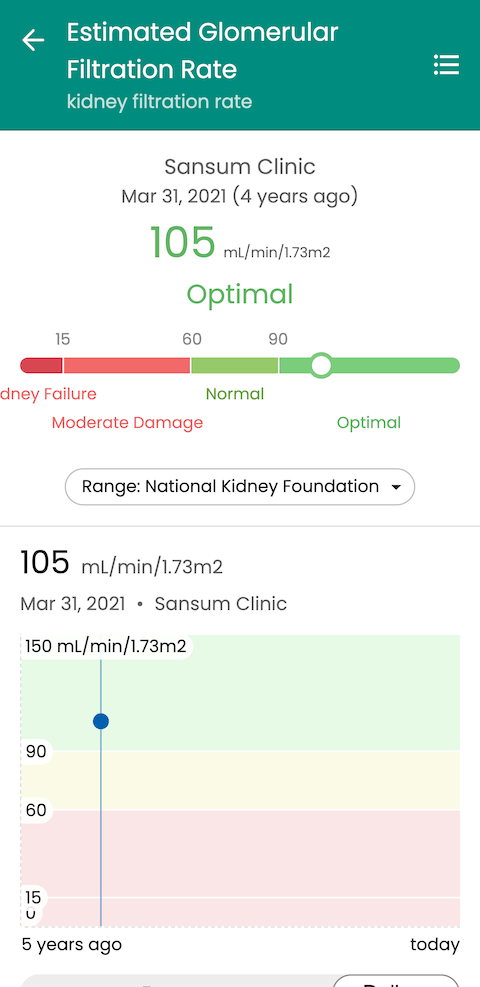
Guava extracts and organizes lab data from portals you've synced with and files you’ve uploaded. You can see biomarkers by going to Profile > Biomarkers.


5. Next: Start connecting devices
To get an even more comprehensive view of your health, you can also connect your medical and wearable devices. This includes smartwatches, smart rings, blood pressure cuffs, and continuous glucose monitors from brands like Oura, Withings, Apple, Dexcom, and more.

To connect your device, go to Menu > Data Sources > Devices & Apps > + Add device or app.
This helps consolidate everything from sleep and movement to vitals and glucose trends in one place.
The bottom line
Whether you're managing a chronic condition, prepping for a specialist visit, or just trying to stay organized, having your complete health history in Guava makes it easier to get the care you need.


